반응형
시작
기본적으로 Node.js 및 개발Tool이 필요합니다.
1.Node.js 설치 - https://nodejs.org/ko/download
2.Visual Studio Code 설치 - https://code.visualstudio.com/?wt.mc_id=vscom_downloads
1. NextJs 새 프로젝트 Typescript로 만들기
cmd 창에 새 프로젝트를 코드 typescript를 추가해서 설치 명령어.
npx create-next-app --typescript [프로젝트명]
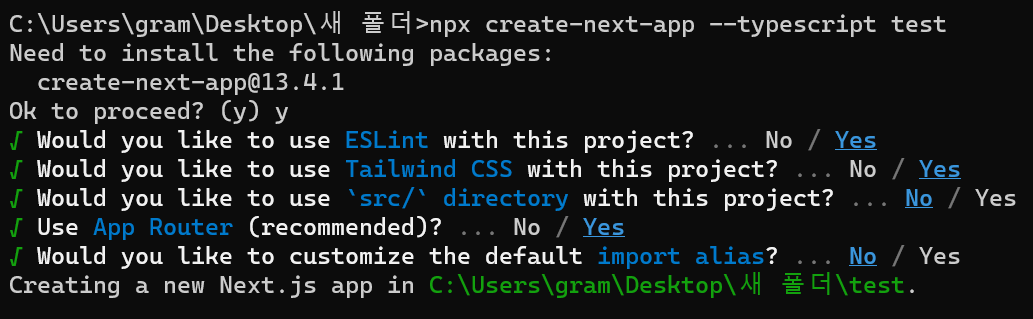
Next.js에서 기본적으로 제공되는 ESLint(JS문법검사) / Tailwind CSS / 'src/'(src폴더를 사용할건지) 등등 우선 기본설정으로 설치했습니다.
설치 후 package.json
{
"name": "test",
"version": "0.1.0",
"private": true,
"scripts": {
"dev": "next dev",
"build": "next build",
"start": "next start",
"lint": "next lint"
},
"dependencies": {
"@types/node": "20.1.1",
"@types/react": "18.2.6",
"@types/react-dom": "18.2.4",
"autoprefixer": "10.4.14",
"eslint": "8.40.0",
"eslint-config-next": "13.4.1",
"next": "13.4.1",
"postcss": "8.4.23",
"react": "18.2.0",
"react-dom": "18.2.0",
"tailwindcss": "3.3.2",
"typescript": "5.0.4"
}
}
개발 실행 > npm run dev
빌드 하기 > npm run build
빌드 실행 > npm run start
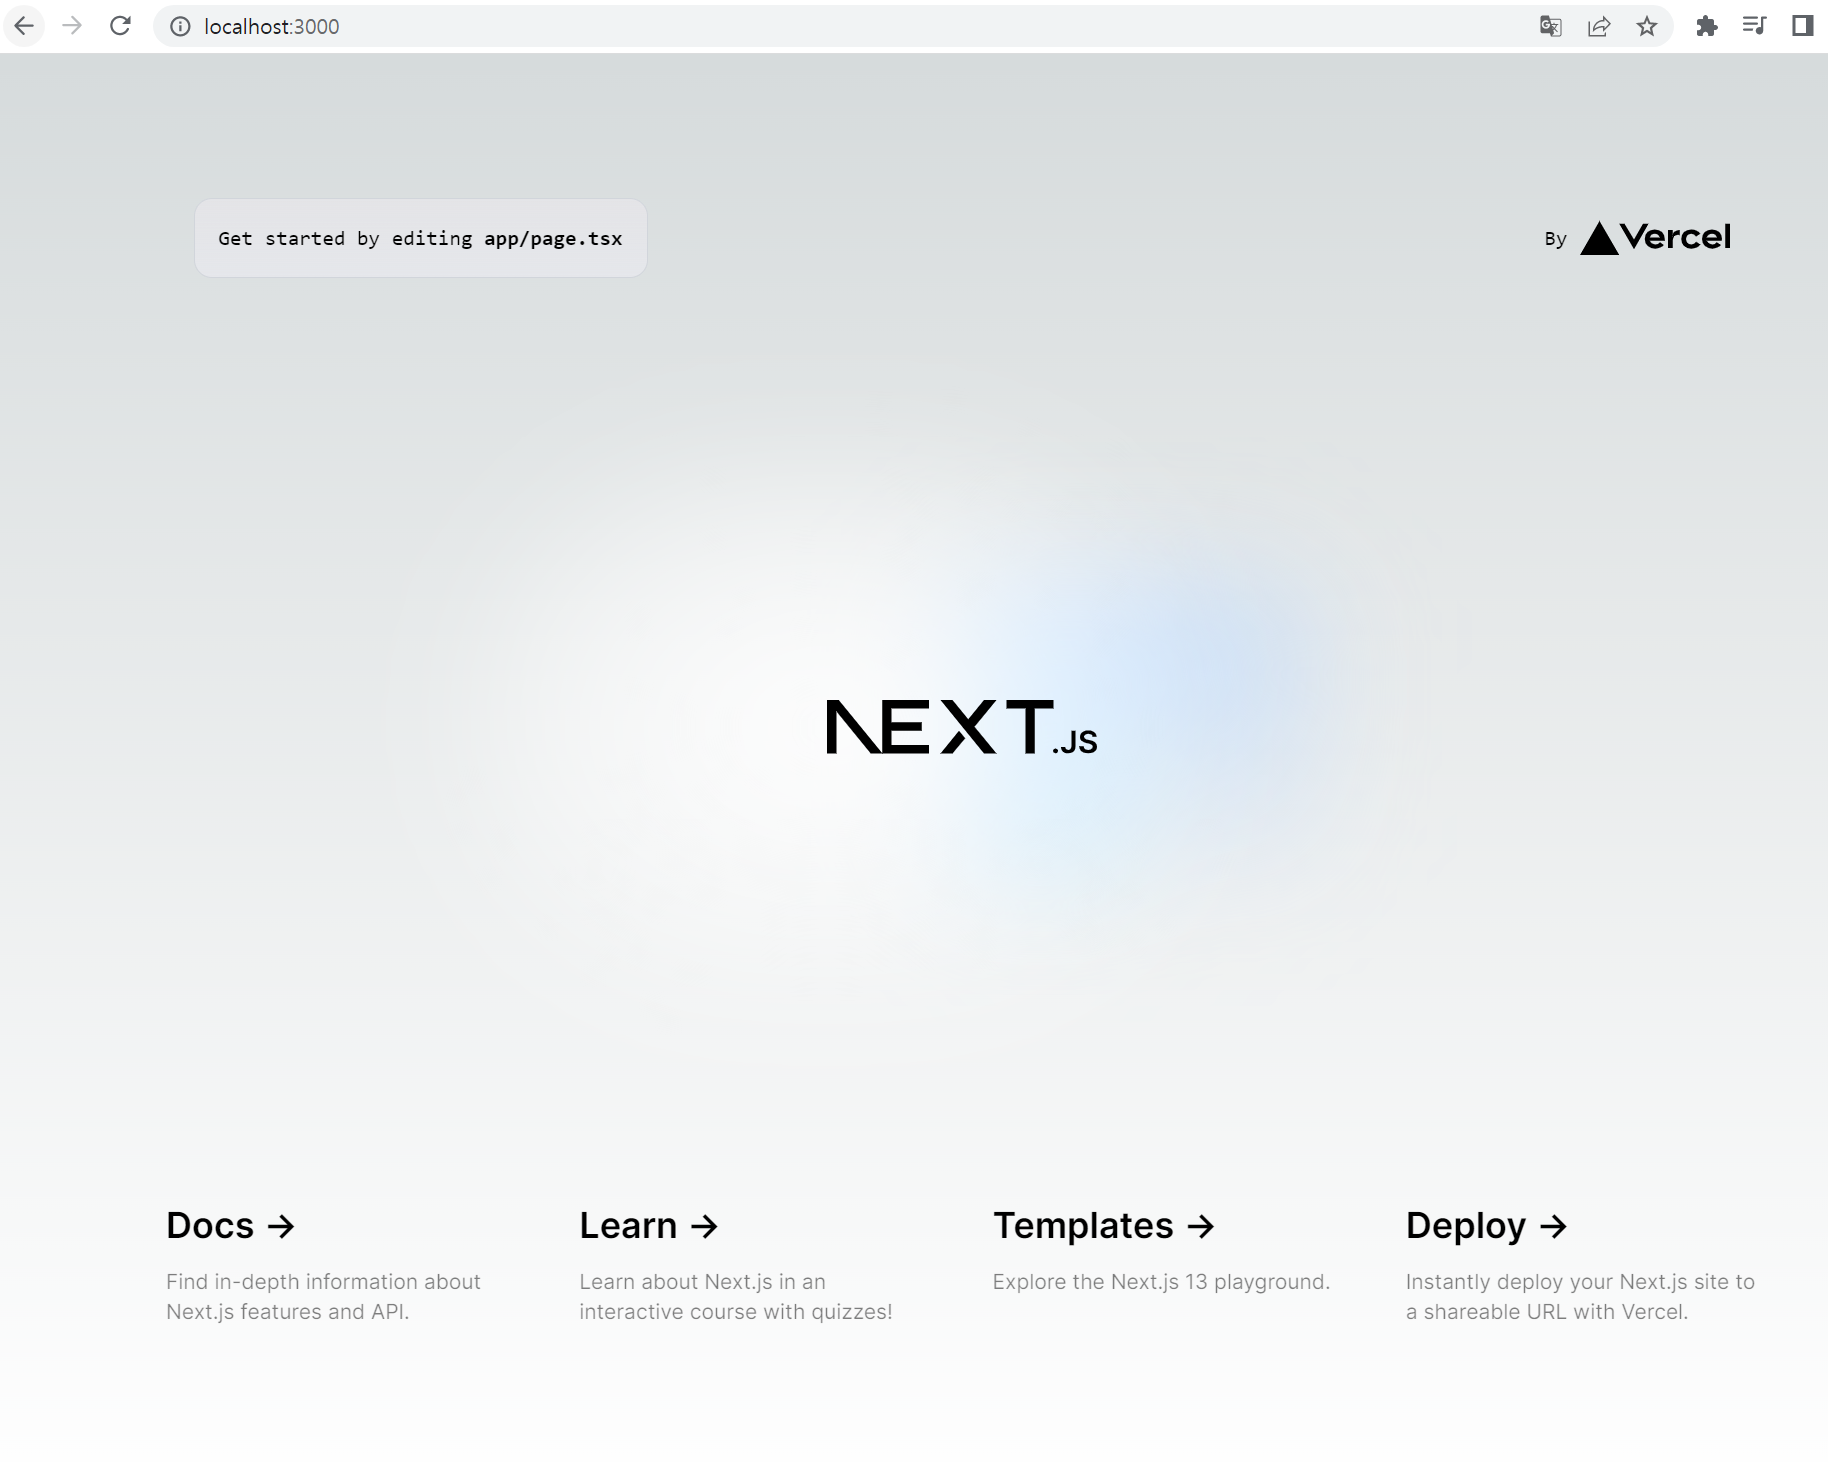
실행 하면 localhost:3000으로 기본 화면 확인 가능
tsconfig.json (타입스크립트 기본 설정)
{
"compilerOptions": {
"target": "es5",
"lib": ["dom", "dom.iterable", "esnext"],
"allowJs": true,
"skipLibCheck": true,
"strict": true,
"forceConsistentCasingInFileNames": true,
"noEmit": true,
"esModuleInterop": true,
"module": "esnext",
"moduleResolution": "node",
"resolveJsonModule": true,
"isolatedModules": true,
"jsx": "preserve",
"incremental": true,
"plugins": [
{
"name": "next"
}
],
"paths": {
"@/*": ["./*"] //@을 사용하면 최상단으로 이동
}
},
"include": ["next-env.d.ts", "**/*.ts", "**/*.tsx", ".next/types/**/*.ts"],
"exclude": ["node_modules"]
}
next.config.json (react 실행 기본 설정)
/** @type {import('next').NextConfig} */
const nextConfig = {}
module.exports = nextConfig
반응형
'Front-End > Next.js(React | Ts|Js)' 카테고리의 다른 글
| URL 확장자 숨기기ex).html (0) | 2023.06.12 |
|---|---|
| [Next.js] 13 폴더 구조 및 특징 - 프론트엔드개발 (0) | 2023.05.10 |
| [JS]영어 대문자, 소문자 변 (0) | 2023.05.08 |
| 호이스팅 / var,let,const 차이 -기술면접대비 (0) | 2023.05.07 |
| React-hooks기본 사용법 -프론트엔드개발 (0) | 2023.05.02 |


댓글